Motion Graphics GIF Animation
The Project
The objective of this project was to explore frame-by-frame animation. As a person who was new to motion graphics, breaking down and understanding what goes into animated content was immensely important. This project was created to give me a better understanding of frame rates, animation programs, timelines, and an exhaustive exploration of motion as a medium.
The Process
Let’s break it down!
Step 1: Understanding GIFs (Research)
Initial research started with breaking down GIFs in general. Here are some key takeaways:
GIFs that are successful loop seamlessly
Successful GIFs tend to be very quick movements
Animated GIFs tend to have simple shapes and movements
GIFs are often used as decoration on a webpage, thus they need to be simple and not take away from the webpage content itself
Step 2: Exploring Frame-by-frame animation
I began with something simple: Altering typography. This allowed me to get a handle on how different frame rates work, how Photoshop exports animations, and generally let me sink my teeth into motion graphics without overwhelming my abilities.
This was my first exploration of motion. It’s not great, but it helped me understand:
How framerates work and what to pay attention to when animating.
It’s really important to take things slow - animation takes time!
It’s really easy to make something boring - I tried to add some more flourishes for the second attempt.
This was my second attempt at the same concept. This attempt left me:
A much better understanding of frame rates and the animation process in general.
Feeling more confident with animation, I moved on to storyboarding my final GIF!
Step 3: Storyboarding
I wanted to maintain simple shapes and textures so that I could focus on the movement of the animation. I knew that creating the drip effects was going to take a while.
Step 4: Animating!
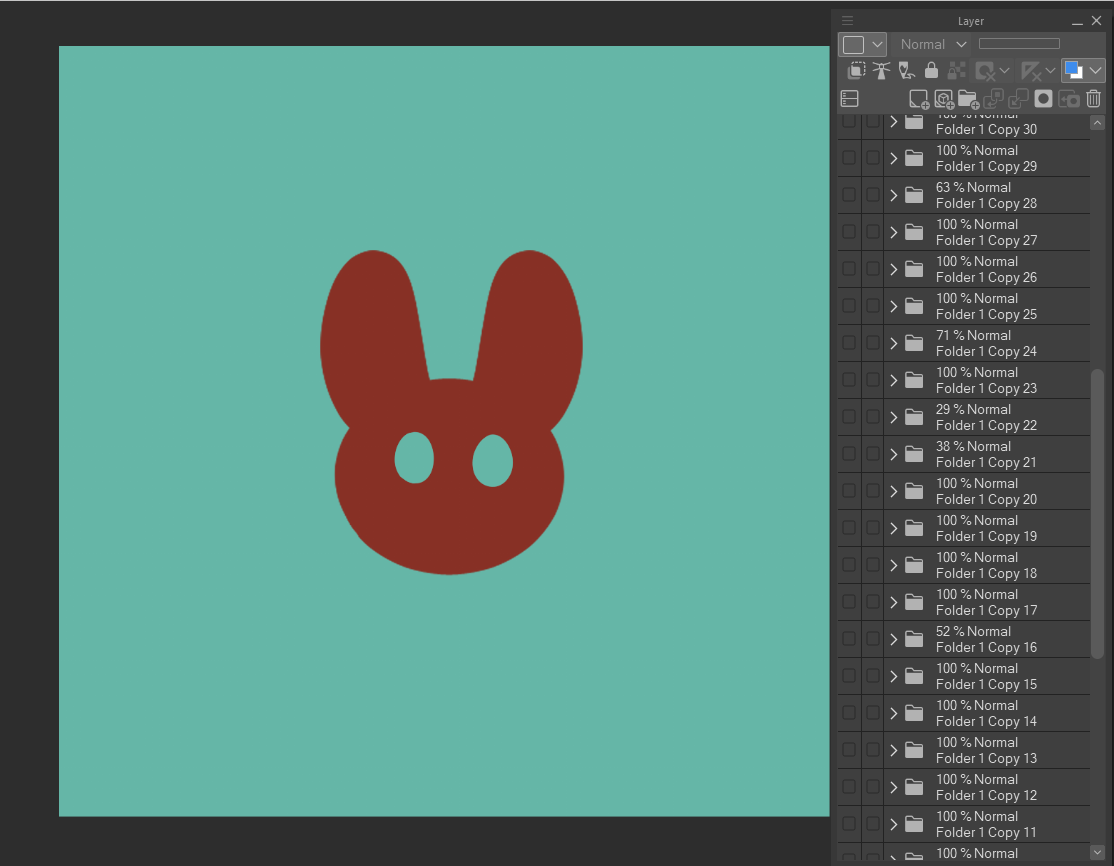
I used Clip Studio Paint to draw my animation frames. I kept each frame on a different layer so that I could export the layers into Photoshop to use its timeline.
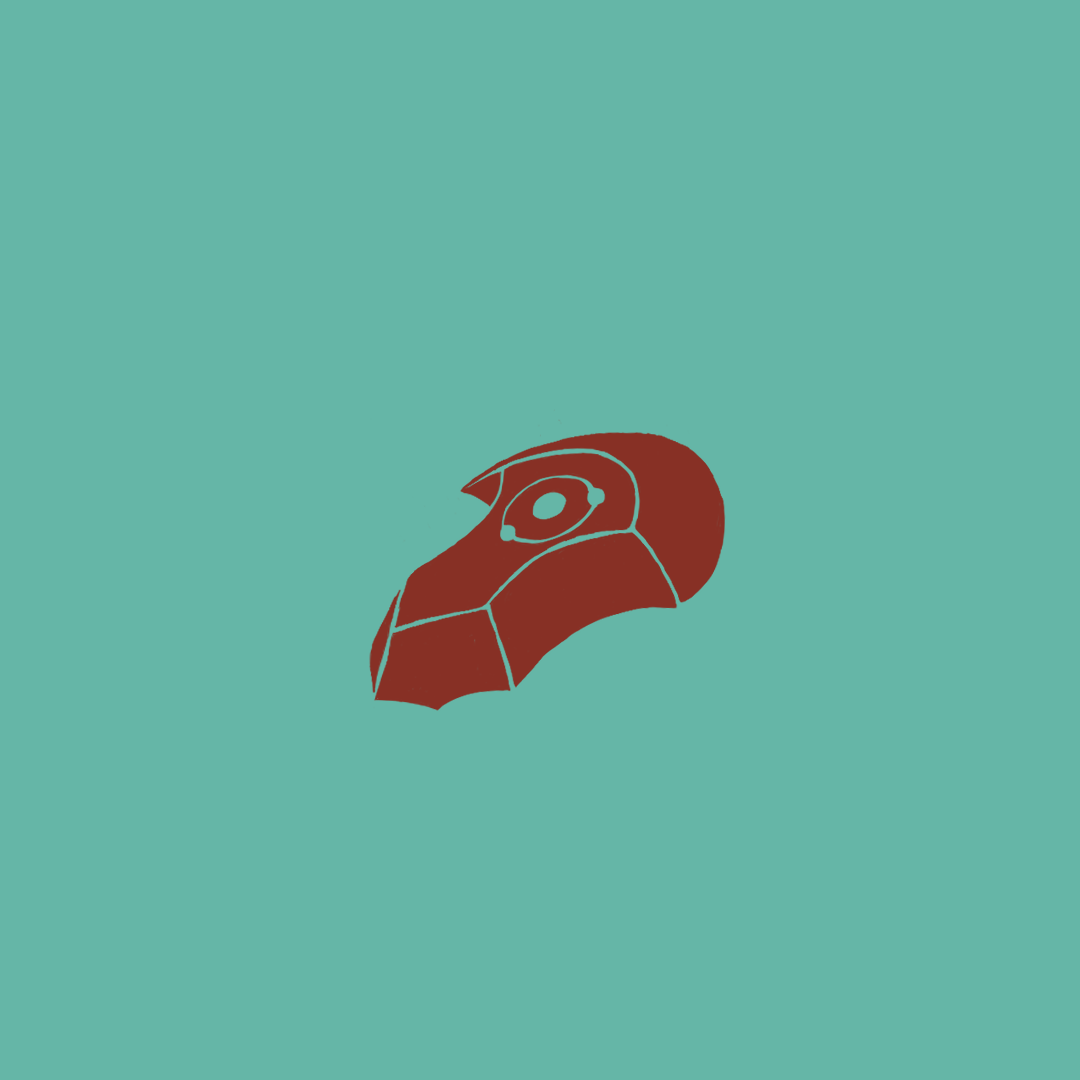
I began with keyframes, like the rabbit itself, the major point of it breaking apart, the crystal forming, and the solid crystal itself. I found that it was a lot easier to make a choppy animation first and then go back in and add the frames in between.
Step 5: Critique
My initial attempt was a strong foundation, but it needed some work:
Framerate needed to be increased
The rabbit falling back down at the end was too stiff. Adding a few more frames to this movement could improve this.
Generally, the GIF needed more fluidity in its movement
Final Animation
Learnings
Motion takes a lot of time!
I had no idea how much work goes into movements that seem very simple.
Despite how long it took, it never really felt like it - once I got into the groove of animating, I could continue for hours.
Animation is significantly easier when you first break down animations into keyframes and add in-between frames afterwards.
After having this realization, it seems like common sense! But it took some trial and error to figure out.
Setting those initial keyframes gives better control over the speed of the object.
Despite the time-sink involved in motion, it’s extremely rewarding.
This project is one of my most memorable because of how fun it is and how satisfying it was to finally create the finished project!


